

教程讲解整个工业产品制作流程,从建模到最后AE的合成,学习怎么正确的打灯,准确的调节材质,完美的和环境结合。整个流程一气呵成。一共9个课时,大小为3.4G
Crafting Product Shots in Cinema 4D is a project based training series. In this training you will learn the whole process of creating a highkey beauty-packshot starting with modelling to final compositing in AfterEffects. You´ll learn how to setup the lighting correctly which light settings you should go with how to setup the materials properly how to setup seperated environments and lots more. In the end you´ll finish the training with production ready product shots.
教程提要视频:
教程内容:
1引言:简要介绍了教练,什么youre去解决这一系列培训。
2上设置与CGI :本章铲球拍摄产品拍摄真正对集合的利弊。我们评估有权利在电脑带来了一种新的灵活性,给您和您的客户端产品拍摄的价值。
3模型: 。打算在整个建模过程开始装载在我们的参考图像。之后,我们使用了一系列类似HN-建模和NURBS创建我们所需的几何尺寸和形状的技术。
4灯具第1部分:开灯。本章有几种灯光,阴影和一般光行为的解释开始起飞。将要瞄准最佳灯光设置的任务,提供最高效的渲染时间。之后,我们开始设置我们粗略的灯光设置。
5着色器和材料:这一章是所有关于材质和着色。在创造一些highclass寻找玻璃,塑料,胶水和标签材料,以适应拍摄得很好。除了将要学习如何把在一个物质基础的填充光效果,使拍摄更美/商业外观和感觉。
6,灯具第2部分:带中的详细信息。返回到照明,被添加的最终环境的产品。添加分隔的反射的场景和产品为您提供了最大的灵活性快速和容易的调整。
7渲染:我们设置后我们的正常拍摄,它的时间来解决和动画的相机在场景中。在此之后即将建立我们所需要的多通道合成的rendersettings 。
8,合成在AE :把一切融合在一起。在最后一章中,我们处理了各具特色过程的最后一步。我们结合所有不同的传球变成了美丽的期待packshot ,给你所有你需要的日常工作的灵活性。还使用了合成步骤,带来一些甜味剂和抛光出手,以提高我们的渲染多一点。
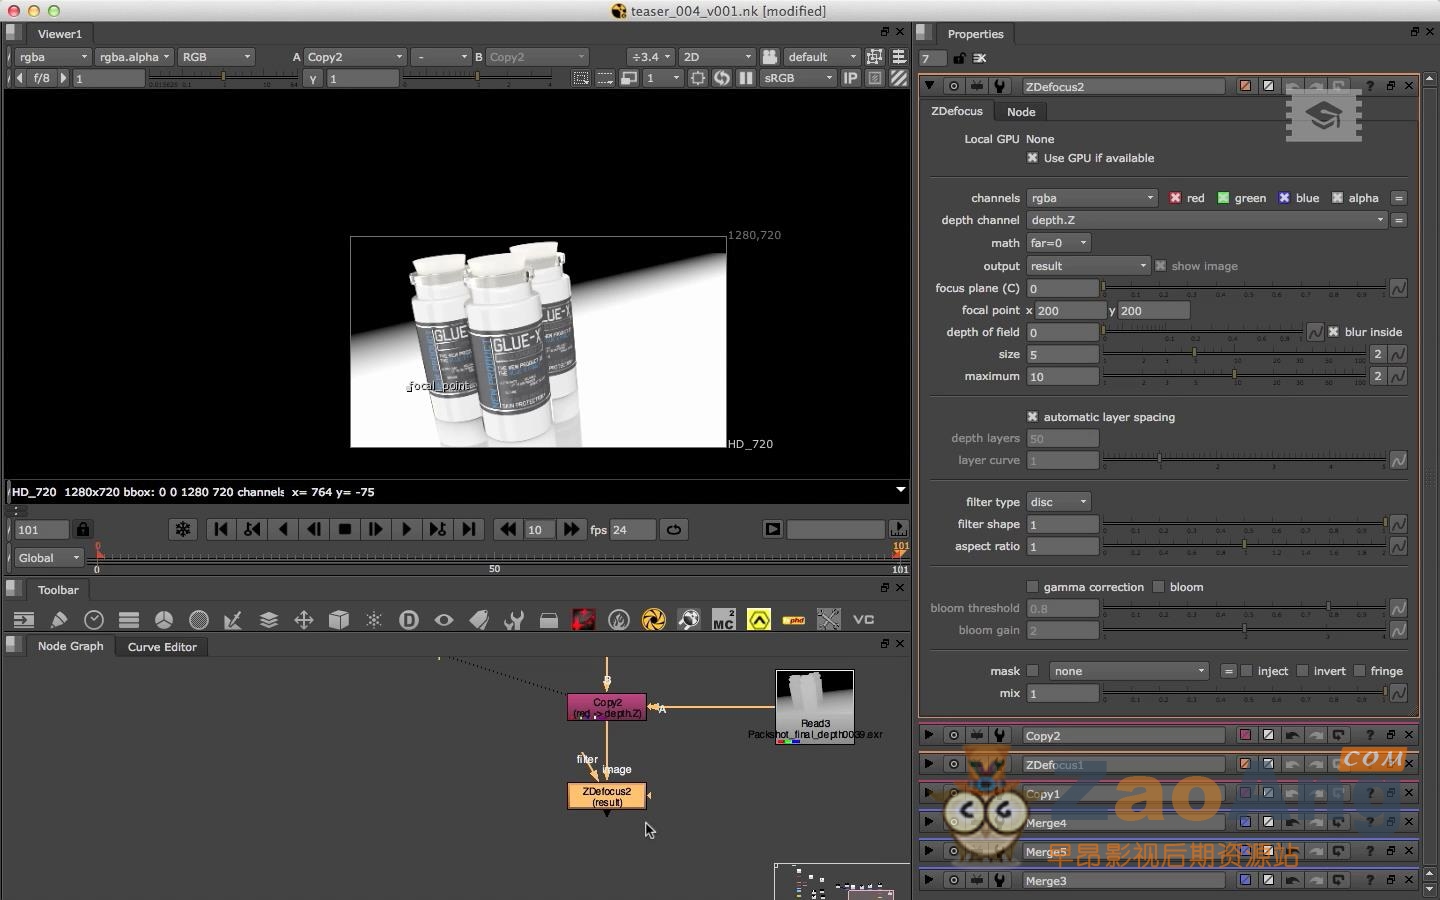
9,Nuke合成:Nuke正在获得越来越多的关注,在Cinema4D在世界上,所以这是合成的快速破败的AE章权利的核弹给你一个概述如何一步是设置在核弹的一点点。这是一个尝试提供一个更好的理解核弹的所有效果后的用户,所以它不是作为深入作为训练的其余部分。
1. Introduction: short introduction of the trainer and what you´re going to tackle in this training series.
2. On-Set vs. CGI: this chapter tackles the pro´s and con´s of shooting product shots for real on set. We evaluate the value of having product shots right in the computer bringing a new kind of flexibility to you and your client.
3. Modelling: we´re going through the whole modelling process starting with loading in our reference images. After that we use a range of techniques like HN-modeling and Nurbs to create the geometries and shapes that we need.
4. Lighting Part 1: Turn the lights on. This chapter starts off with a explanation of several kind of lights, shadows and light behaviour in general. We´re going to aim for the best lighting setup for the task, providing the most efficient rendertime. After that we start to set our rough lighting setup.
5. Shaders and materials: this chapter is all about materials and shaders. We´re creating some highclass looking glass, plastic, glue and label materials to fit into the shot nicely. In addition we´re going to learn how to bring in a fill-light effect on a material basis, giving the shot a more beauty / commercial look and feel.
6. Lighting Part 2: Bring in the Details. Returning to lighting, we´re adding the final environment to the product. Adding seperated reflections for the scene and the product gives you the most flexibility for fast and easy adjustments.
7. Rendering: after we setup our shot correctly, it´s time to settle and animate the camera in the scene. After that we´re about to setup all the rendersettings we need for a multipass Compositing.
8. Compositing in AE: bringing everything together. In the final chapter, we tackle the last step of the crafting process. We combine all the different passes into a beautiful looking packshot, giving you all the flexibility that you need for day to day work. We´re also using the Compositing step to bring in some sweetening and polishing to the shot, to enhance our rendering a little more.
9. Compositing in Nuke: Nuke is gaining more and more attention in the Cinema4D world, so this is a quick rundown of the „Compositing in AE“ chapter right in nuke to give you a little bit of an overview how this step is setup in nuke. This is a try to provide a better understanding of nuke to all the after effects users, so it´s not as indepth as the rest of the training.
本站原创资源发布会标注。任何个人或组织,在未征得本站同意时,禁止复制、盗用、采集、发布本站内容到任何网站、书籍等各类媒体平台。如若本站内容侵犯了原著者的合法权益,可联系我们进行处理。


Comments (0)